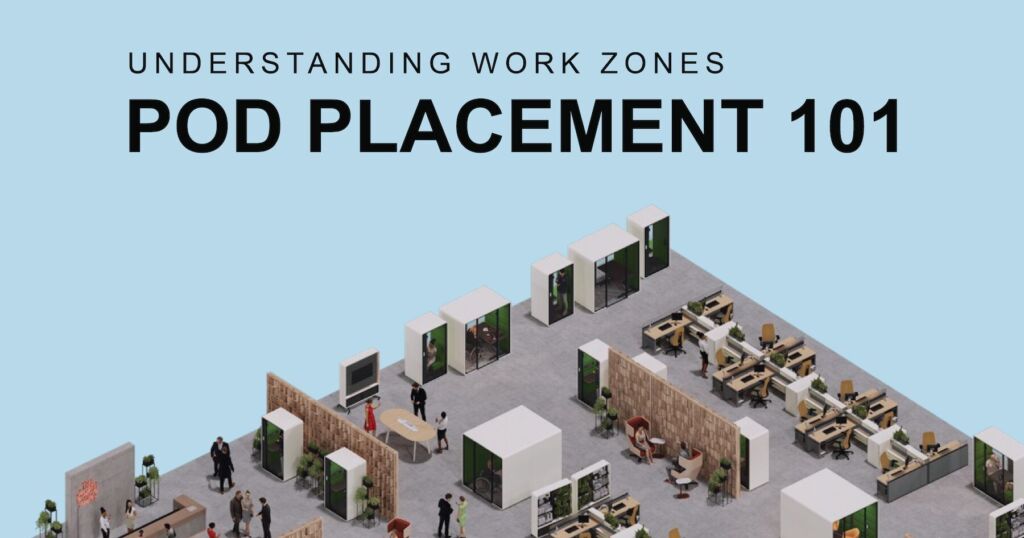
Whether you’re planning one phone pod or a full village of meeting pods, the fastest way to a smooth install is a tight checklist. Below is a practical, field-tested guide your team can use from first conversation to final sign-off—built around hushoffice’s “Verify x10” framework.

1. Verify Dimensions
Start by confirming the exact width, depth, and height of each pod model you’re specifying—then overlay those dimensions on the floor plan. Look for pinch points (columns, soffits, low bulkheads) and note ceiling features like sprinkler heads or HVAC that might affect placement. A quick tape-out on site with painter’s tape helps everyone “see” the footprint before you order.
What to look for
- Enough breathing room around the shell for airflow and service access
- Glass doors clear of nearby furniture to avoid dings on day one
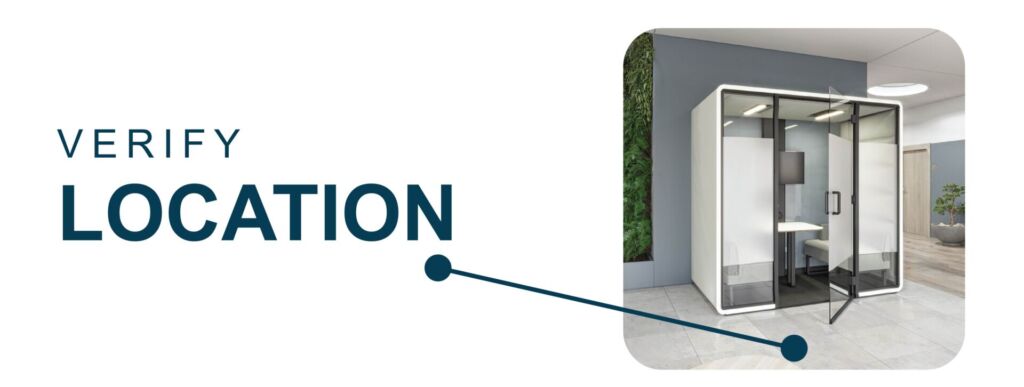
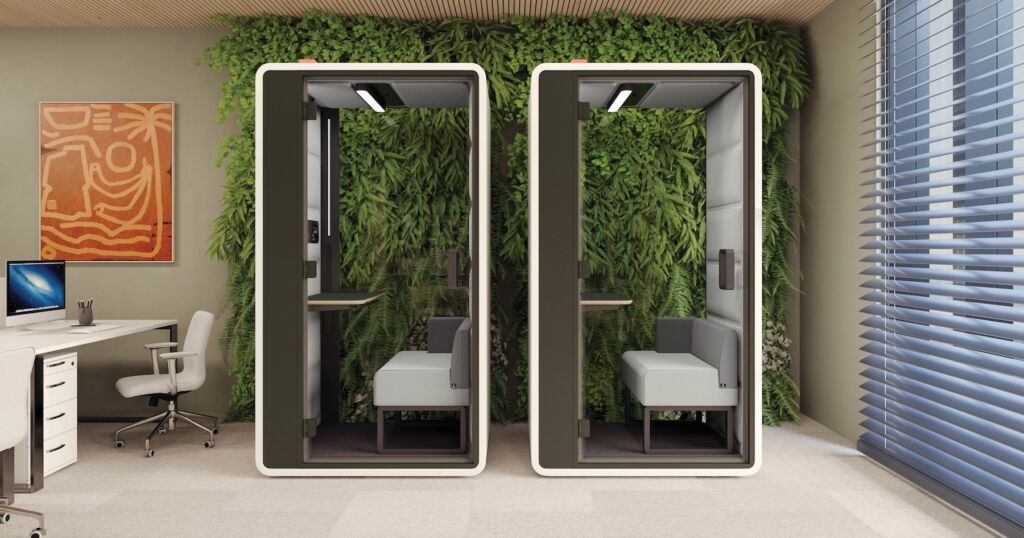
2. Verify Location
Pods perform best when they solve a real problem in the plan: noisy aisles, missing focus spaces, overflow meeting demand. Walk the floor and mark natural landing zones, then sanity-check against manufacturer placement guidance (we also published a Guide To Smart Pod Placement if you want a deeper dive).
What to look for
- Door orientations that face away from busy corridors
- Sight lines that give privacy without “hiding” the pod

3. Verify Weight
Check the unit weight and distributed load per square foot/meter against the building’s floor capacity—especially in older buildings, mezzanines, or raised floors. If you’re planning multiple pods together, calculate cumulative load and get facilities sign-off early.
What to look for
- Floor types (slab, raised access, timber) and any required spreader plates or pads

4. Verify Electrical
Decide how each pod will be powered (floor box, wall outlet, or ceiling drop) and confirm runs are within reach of the factory power lead. Identify where data will enter (if applicable) and route cables so they emerge cleanly under the pod—not across walk paths. Build these notes into the install plan so nothing is “figured out on site.”
What to look for
- Dedicated circuits where required, plus labeling for easy facilities support
- A clean plan for any accessories (screens, booking panels, occupancy lights)

5. Verify Traffic
Place pods so they support flow rather than block it. Model doors both closed and fully open to ensure they don’t clip passersby or impede evacuations. If the pod sits in a tight corridor, rotate it so the door opens toward a quieter zone.
What to look for
- Clear approach paths for wheelchairs, carts, and cleaning crews
- No door conflicts with adjacent rooms or storage areas
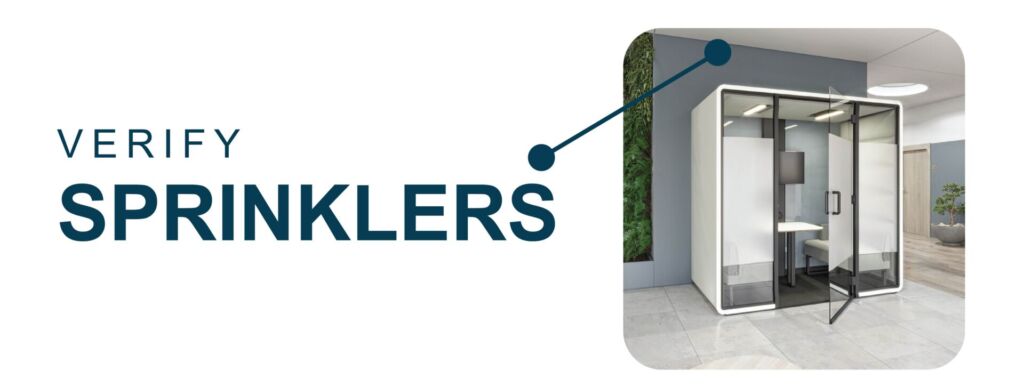
6. Verify Sprinklers
Every jurisdiction treats freestanding rooms a bit differently. Loop in your fire/life-safety contact early to confirm whether sprinkler coverage inside the pod is required, and—if so—how it will be provided. Getting that answer in advance prevents last-minute redesigns.
What to look for
- Ceiling conditions above the pod and the path for any required tie-ins
- Coordination with building shutdown windows if work is needed
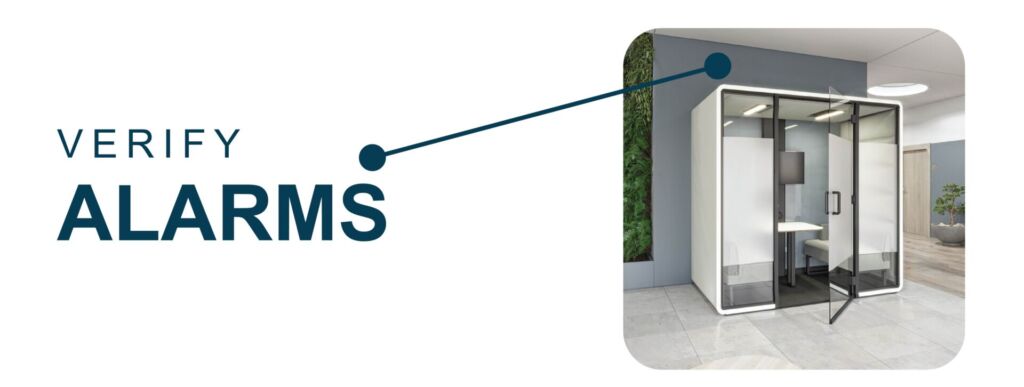
7. Verify Alarms
Pods should never isolate users from emergency notifications. Review the layout of strobes, speakers, and horns on the floor; confirm visibility and audibility inside the pod. If needed, plan supplemental devices or placement tweaks so no signal is missed.
What to look for
-
Clear sightline to nearby strobes and audibility checks during commissioning
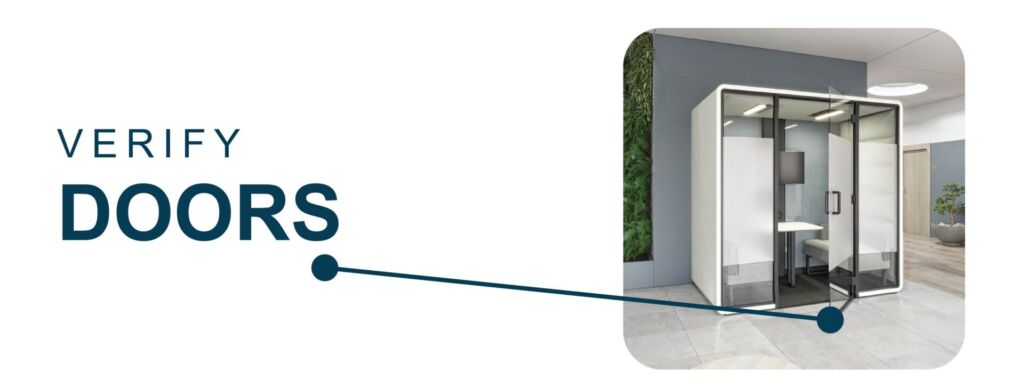
8. Verify Doors
Pods ship in left- or right-hand configurations. Choose the swing that best suits the approach, neighboring furniture, and user flow—and make sure the spec matches the plan. It’s a small choice that prevents daily friction.
What to look for
- Door handles clear of columns and credenzas
- Consistent swings across a cluster to simplify wayfinding

9. Verify Anchoring
If your project is in a seismic zone or on a surface that requires restraint, review the recommended anchorage methods for your floor type and the local code. Align on who provides hardware and who signs off—GC, facilities, or manufacturer installer—before install day.
What to look for
- Substrate (concrete, tile over slab, raised access) and approved fasteners
- A clean path to remove anchors later if the pod moves
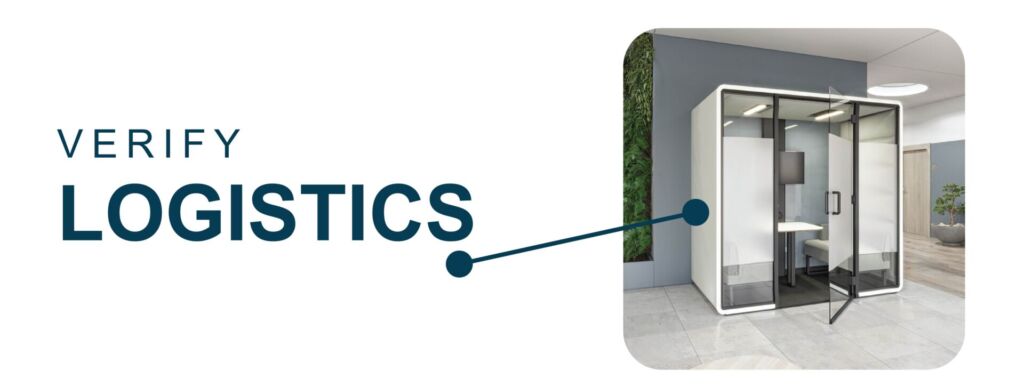
10. Verify Logistics
Smooth installs start at the curb. Confirm loading access, elevator dimensions and capacity, path of travel, and where crates will stage and recycle. Share building rules with the crew (work hours, union requirements, COI) and confirm power/water availability if needed for the day.
What to look for
- An elevator plan for largest panels, plus a backup if an elevator goes down
- A named on-site contact with phone number for day-of questions
Putting It All Together
You’ll notice the theme: verify, verify, verify. When you methodically confirm dimensions, location, weight, electrical, traffic, sprinklers, alarms, doors, anchoring, and logistics, the rest of the project tends to click into place.
Need help? Send us your floor plan and target headcount. We’ll review, flag risks, and recommend an installation plan that keeps your project moving—from first sketch to first call inside the pod.